
The Best Budget USB Microphone Under £50!
A Brief Overview.
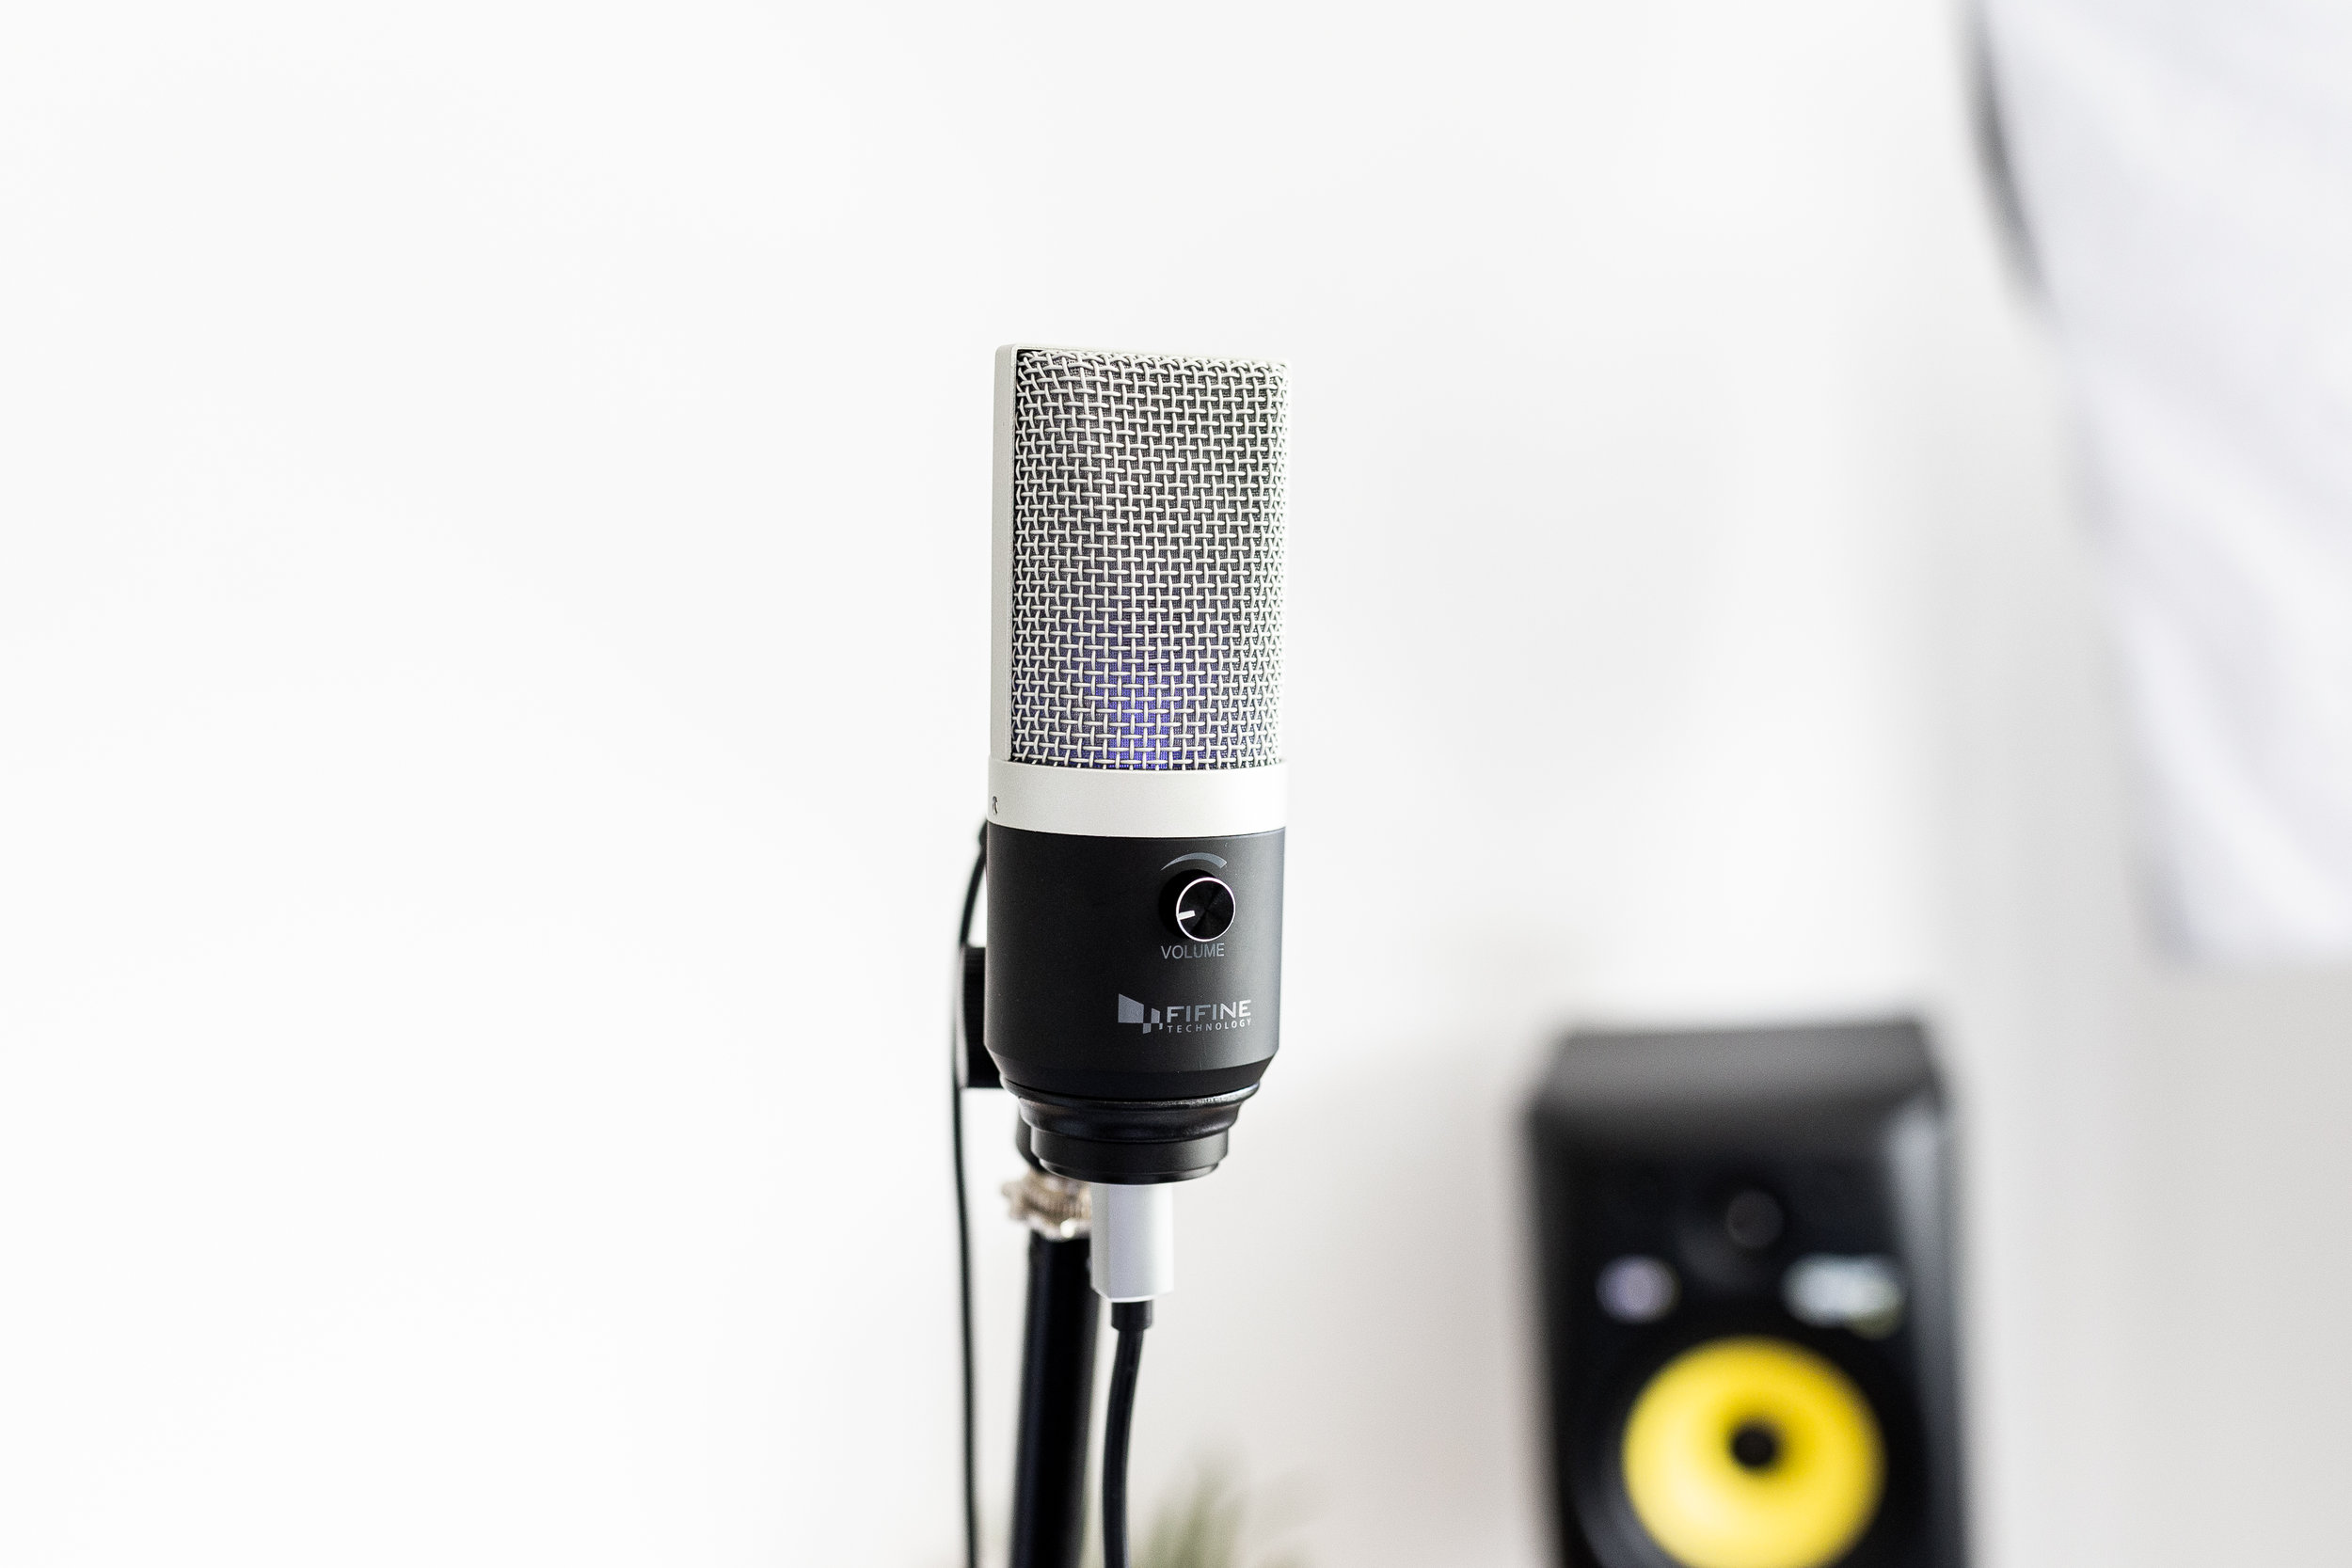
I’ve been uploading regular videos to YouTube for the past few months. I love recording videos as it gives my clients a feel for my style and what I do. To record my YouTube videos I use a Rode NT1-A for my Acoustic Guitar, along side a Shure SM7B for Vocals (the best mic in the world!). Both these mics are connected to a Focusrite interface and my current go-to DAW is Logic Pro X. A few weeks ago I was approached by Fifine Technologies to test out their K670 USB microphone. Having a background in Sound Engineering I was a little skeptical about accepting this offer as USB microphone’s are thought of as slightly amateur - But I decide to proceed out of curiosity after watching/listening to some examples. The mic arrived a few days later and I was fairly impressed that a below £50 microphone came packaged in an Apple-like designed box including a desktop stand and a rugged USB cable.
Recording Setup.
After setting up the K670 on my regular mic stand - Which is super easy thanks to the supplied mounting bracket - I plugged it into my laptop and voila! Logic recognised the mic as an interface and had me up and running in no time. The fact the microphone requires no lengthy instalment of drivers was actually a dream. I decided to record the guitar and vocals separately to put the K670 to the test in different applications. The mic has a headphone output built into the back of it which I was a concerned about at first... When i put my headphones on my ears were plagued with the sweet sound of signal noise - A sounds engineer’s worst nightmare. The signal was pretty loud so I turned down the ‘Volume’ knob on the mic which means two things - Headphone Output and Microphone Input Gain (a little strange in a recording scenario). I got my head around this after a bit of trail and error but also noticed a digital Input Gain knob inside Logic. I experimented here and set it accordingly and finally recorded my first guitar take.
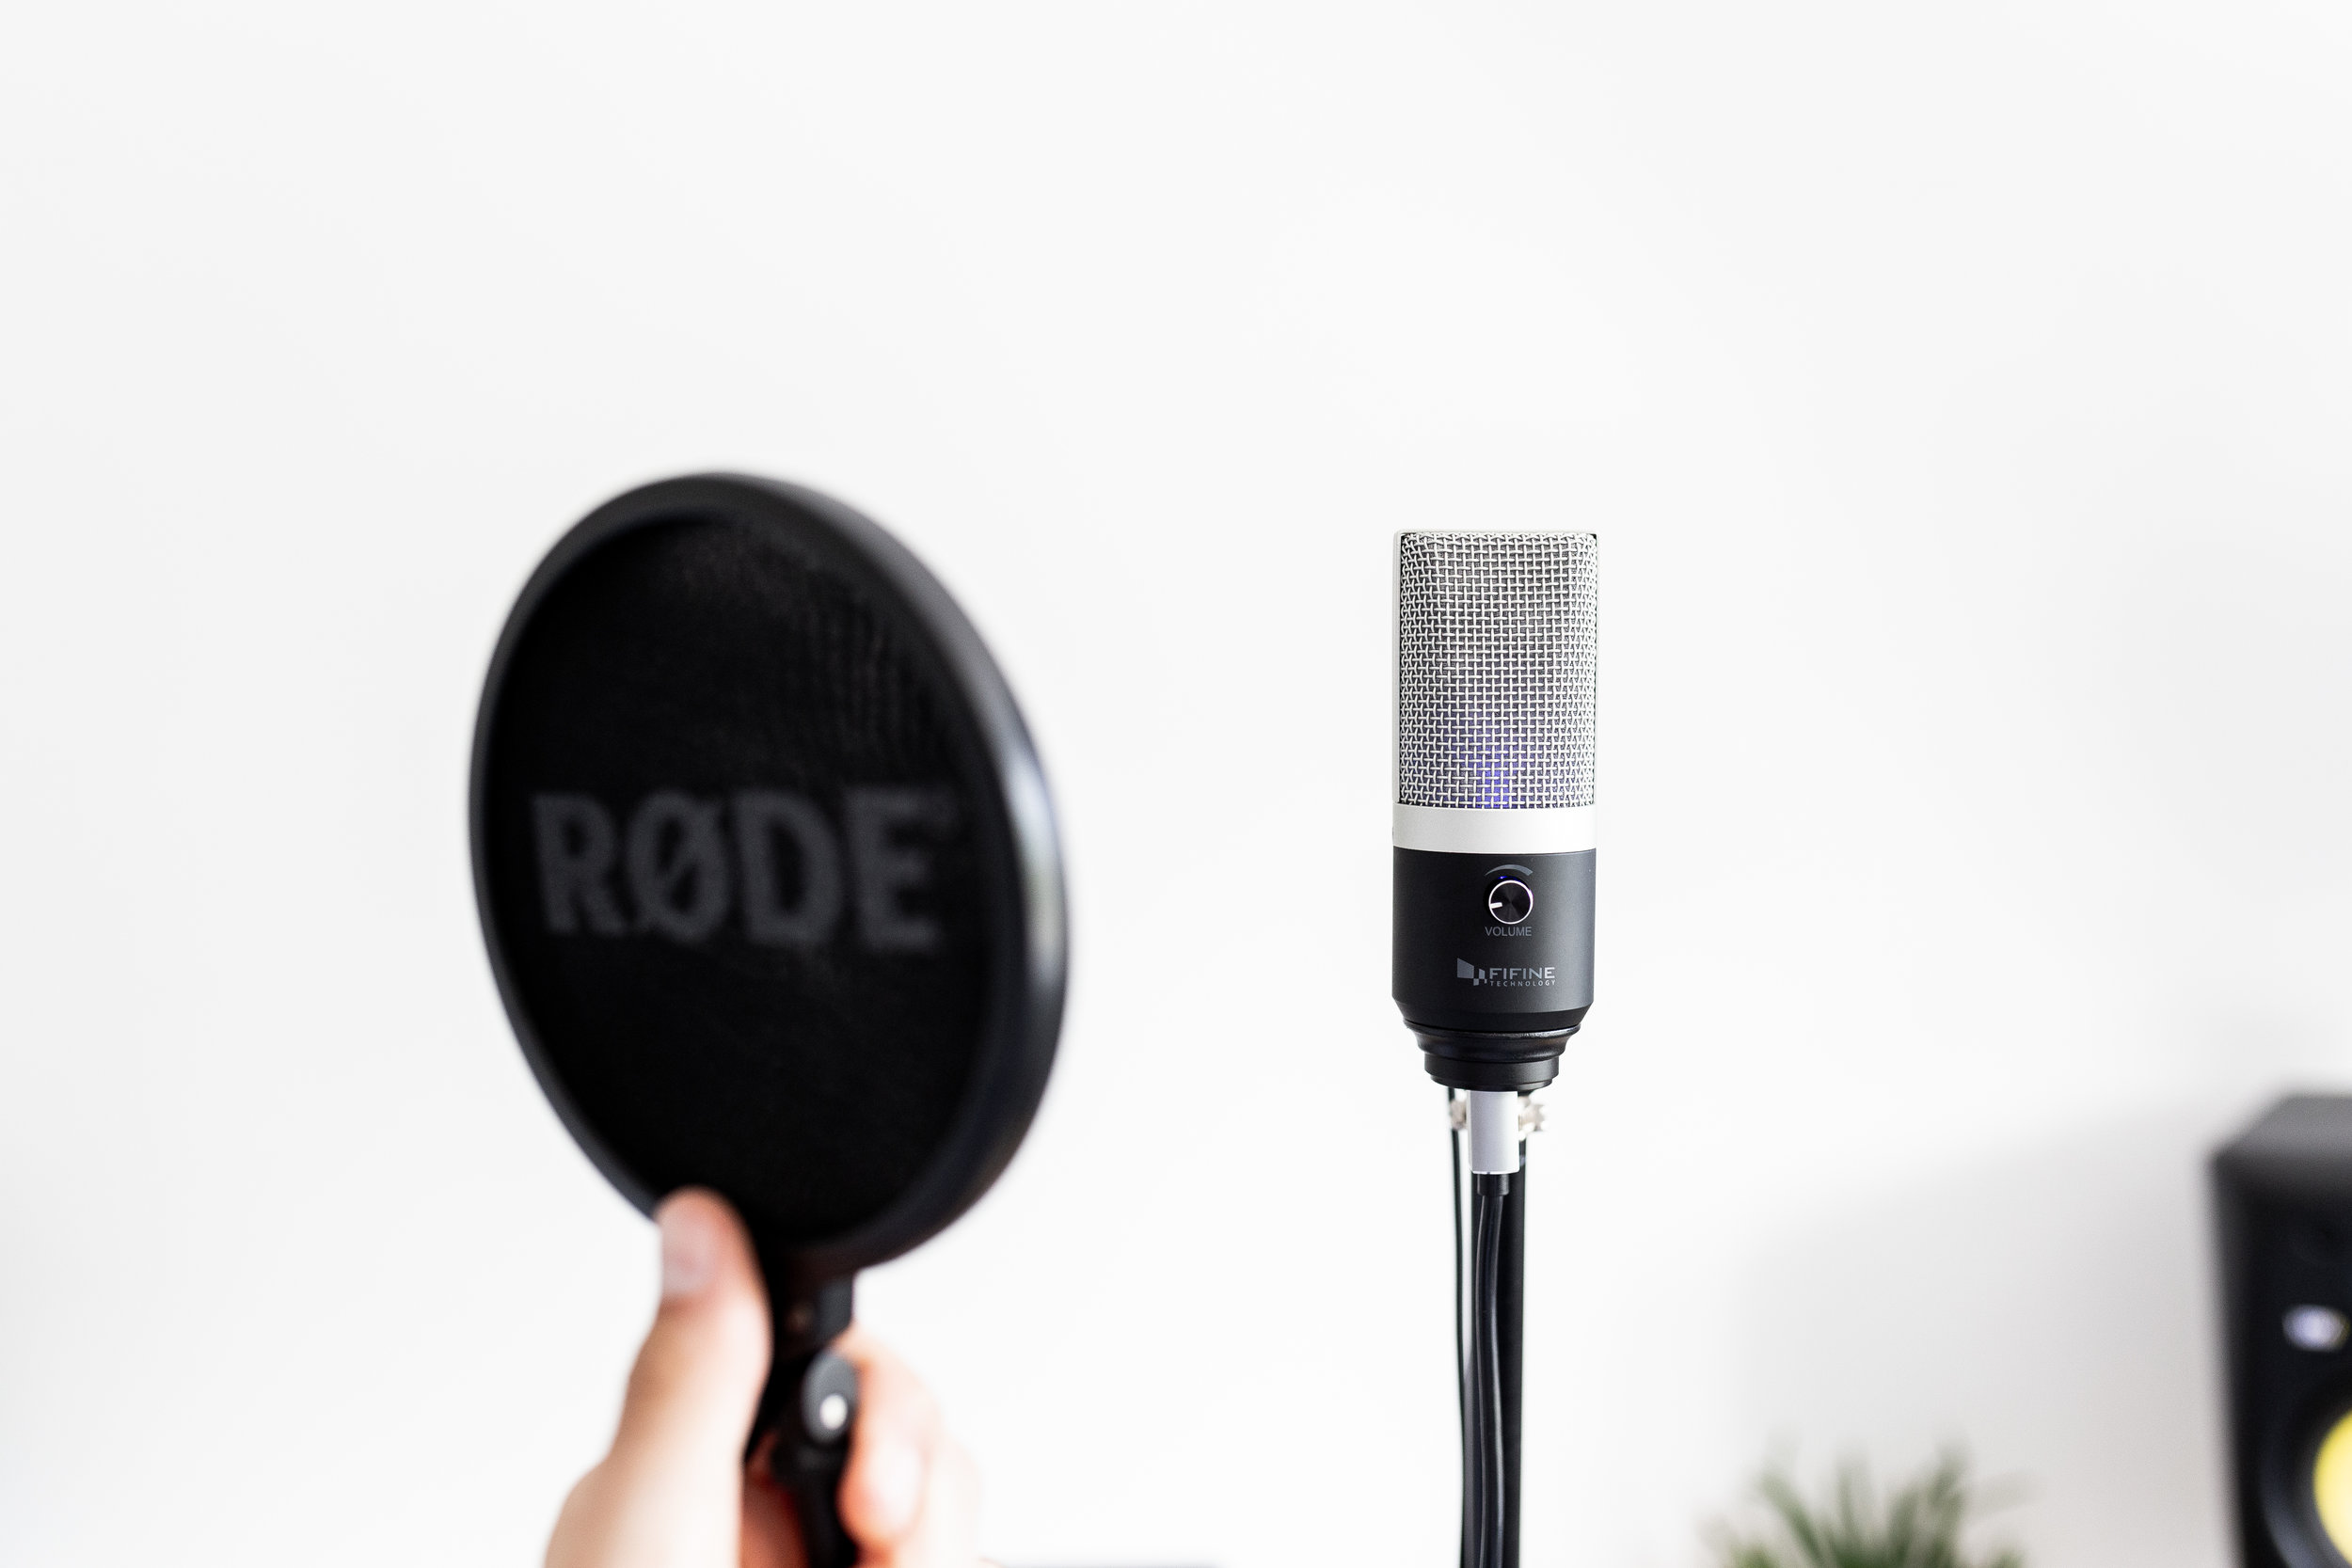
I was monitoring the audio back after each take through my studio monitors which were connected to my Focusrite interface (you can select your output in Logic) and was over the moon to hear that the signal noise heard through my headphones earlier wasn’t printed on the recording. I’m not sure whether this is a fault on my mic or something I overlooked but nevertheless, the guitar was recorded and I moved onto the vocals. This is where I tried to be a little innovative. The Rode NT1-A I mentioned earlier is housed in a shock-mount and on first inspection the thread at the bottom of each mic seemed to be the same.. It was not. I would recommend purchasing an additional shock-mount for this mic as it does a great job of picking up everything! However, you may want to do some research as you may end up covering up the volume knob and headphone jack. The other thing you’ll want is a pop filter. Just like a condenser microphone the K670 is equipped with a large diaphragm and is pretty sensitive to plosives. I don’t own a pop filter accessory so I had to be creative and bend the pop filter on my Rode’s shock-mount.
“CHECK OUT THE RECORDING BELOW”
Tips For Better Recordings.
If you decide to purchase this mic and aren’t satisfied with the results and think my recording was equipped with wizardry, there’s a couple of things you could look at changing. My favourite expression ever is that you can’t polish a turd. I apply this motto to anything in life when starting a new project, but especially to recordings. The first step is to create a good foundation, and your foundation in audio recording is a great sounding room. I’m always trying to achieve a fairly ‘dead’ room to start out with since there isn’t any nice naturally occurring reverberation happening in my tiny office/studio. I start by taking a mattress off one of the beds in my house and lean it up against the bare wall in my studio (super DIY). Flat walls reflect sound and we want to try an eliminate this - A big thick mattress will absorb a wider range of frequencies unlike a thin foam acoustic panel which only controls high frequencies. I have a few of these acoustic panels on another wall along with a sofa. Big, obscure shaped objects in a room like a sofa or bed are the best for treating acoustics. Pick a room with a carpet in it if possible to absorb the vertical reflections.
Another tip for achieving a great recording is to be meticulous with your microphone placement. Slap your headphones on and move the mic around your guitar or whatever instrument you’re using and try and find a ‘sweet spot’. If you aren’t happy with your recording don’t hesitate to re-record and definitely don’t try and quick fix your recordings with the EQ! Remember: You can’t polish a turd.

Final Thoughts.
The Fifine K670 USB Microphone is very suffice for efficient home recordings, especially for an acoustic solo artist. In comparison to a traditional, budget condenser studio microphone like the Rode NT1-A, there is a noticeable difference (IMO) in regards to the clarity and frequency response of the sound recorded. However, a condenser microphone would require an audio interface and a more bulky setup, and of course a bigger outlay in ££. So for someone who has price and efficiency in mind, this microphone is an incredible bang for your buck. For vocal applications such as voice overs, podcasts, vlogs and video calls - This is the holy grail.
If you’re interested in purchasing the Fifine K670 USB Microphone click here!